Once all the carving itself is done it's time to let the leather decase. The simplest way to do this is to just set it on the workbench and wait for it to dry out. However doing so risks leaving the leather to the whims of random fiber arrangements. Leather, like wood or paper, is made up of lots of little fibers and while most of them run in one direction (the grain) they don't -all- run in that direction. As the leather dries the fibers contract and those "cross fibers" can wind up causing the leather to twist or warp.
To prevent this I generally put the leather into some sort of traction overnight. In most cases that entails piling old D&D books (and sometimes a few weights) on top of it and leaving it to sit overnight. It isn't always fool proof, I still get some warping from time to time, but it's a big improvement over having no traction at all. With enough pressure it even tends to burnish the rough flesh side of the leather.
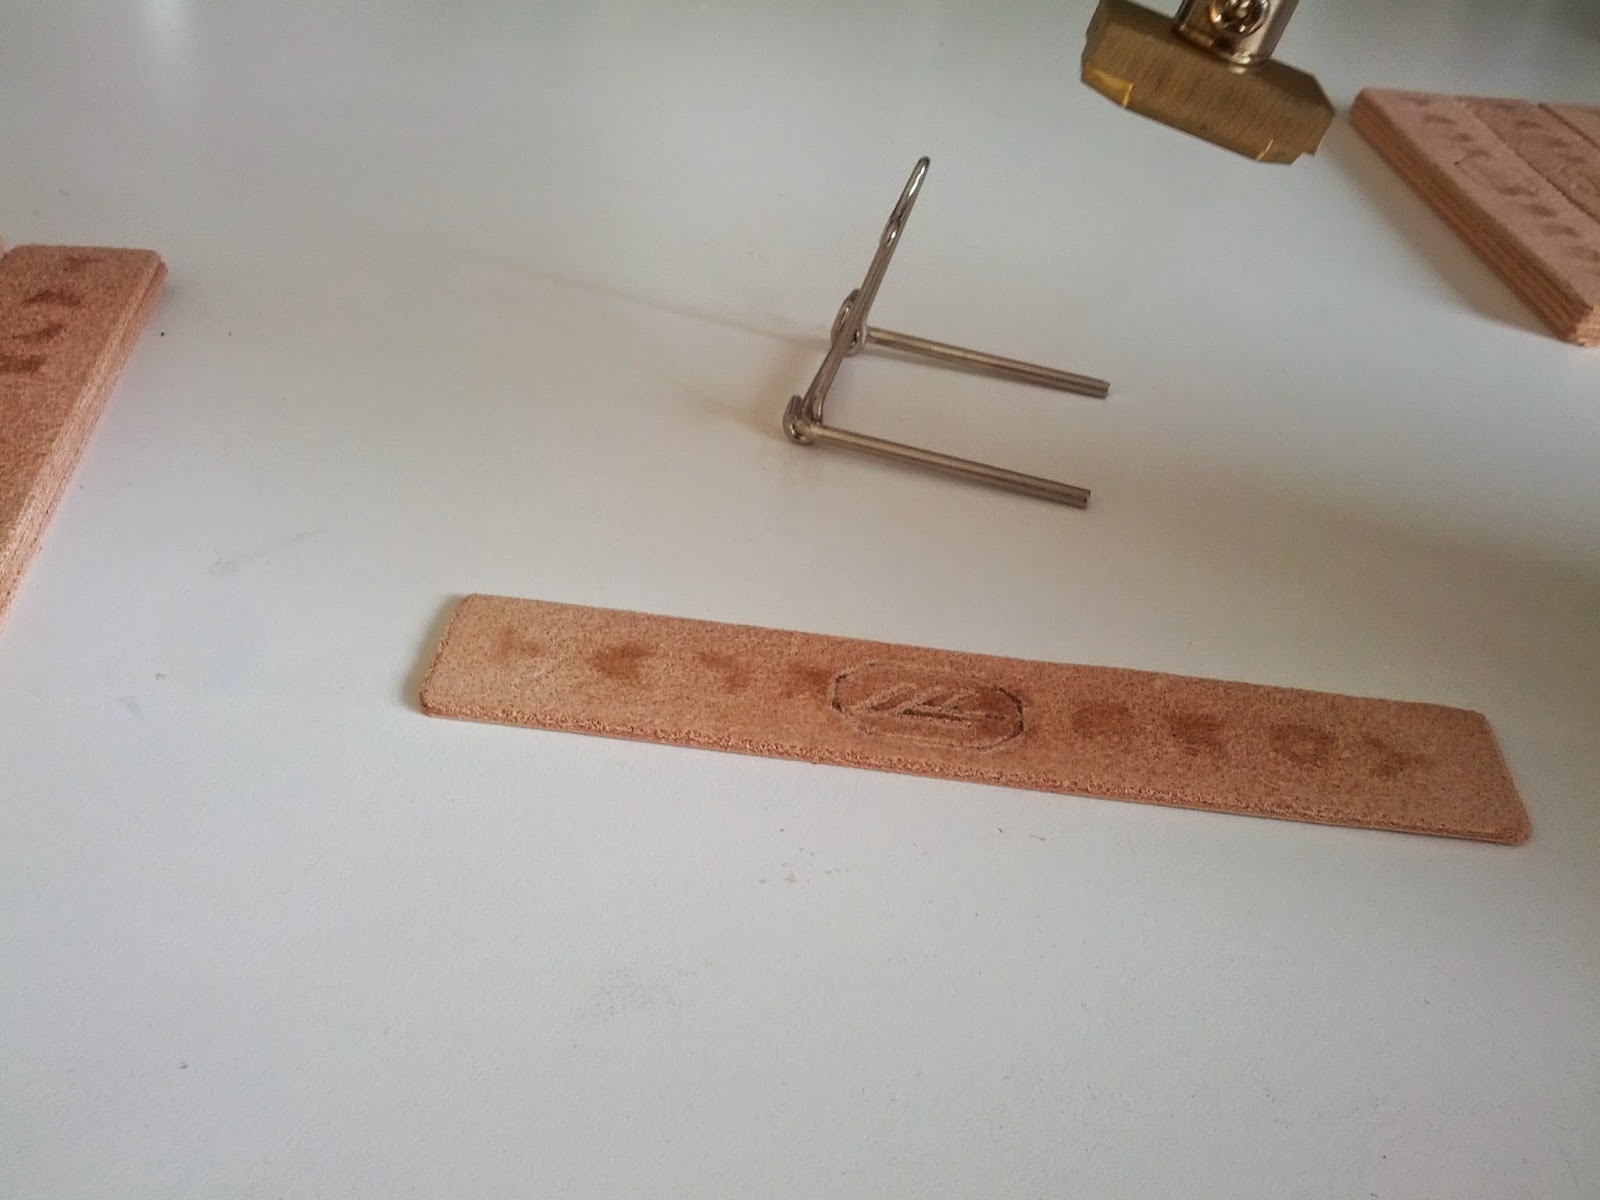
Assuming veg-tan is involved I usually sign the piece as soon as it's done decasing. Like craftsmen of ye olde I've come up with a makers mark that I use to, fairly literally, brand my work with. This is done using a brass die with my mark and an old soldering iron. In it's most basic sense it's a simple as just pressing the brand onto the leather but it takes some practice to get the hang of. The density, thickness, and any remaining water can all affect how the leather takes the imprint. In the worst case scenario the fibers of the leather can be scorched by the heat, but that only happens if the leather's still pretty wet or the iron is heated over 300C. Otherwise it's just a matter of practicing the stamping, rocking motion necessary to get a clear, clean imprint.


No comments:
Post a Comment
Note: Only a member of this blog may post a comment.