Thursday, June 23, 2016

Personal Projects

These don't really have anything to do with the shop but they've been part of home we've been building up here.

Towel Rack
Our small bathroom came with a towel rack that might have been reasonably mistaken for a paper towel holder.  Missus found it sufficiently a nuisance to come up with this replacement.  We couldn't find any towel racks with a similar design so I knocked one together out of some shaker pegs and poplar boards.  Not bad for ~$8 of material.

Hat Peg


Every good hat should have a nice peg to call home.  I'd been using a nail in the wall for the past couple months and reckoned it was time enough to change that.  I used a cutoff from the Gaming Table and a wee shaker peg and treated it all with tung oil after sufficient sanding.  There was a fair bit of discussion about the phrase to use on the board.  I was initially going to use "I'm Not Home" and then it was going to be "I Rolled Out" and somehow we settled on "Rollin' Out" as the most applicable phrase.  Either way I'm quite pleased that the hat can hang without mucking with the curvature of the brim.

With that we're pretty much done with the bulk of the work moving in.  And just in time because tomorrow we're hoping in the car and driving to the next Province over.  The Missus has some relations out that way we haven't visited yet and we'll be there to see the kick off of the Ponoka Stampede (Alberta's big rodeo event).  Should be fun to drive through the Rockies and see a rodeo.  I'll try to tweet some pictures along the way (from those islands of internet along the highway).


Wednesday, June 22, 2016

Casing Chest

Casing is the process by which vegetable tanned leather is prepared for carving or molding.  It involves wetting the leather and then creating the conditions for the water to work its way uniformly through the leather.  As the name implies, this usually meant leaving the wet leather in a heavy box for several hours.  Historically anything from an ice box to a humidor could work as a casing chest; it just had to be mostly air/water tight.  These days the casing chest has often been replaced by ziploc bags and/or plastic wrap but there have been many times I've wanted to just have a big box I could drop my leather in to case (or keep it from decasing overnight).  So, naturally, I built one.


Most of the chest is built from cedar tongue-and-groove boards that I could lock together to form the walls.  I used some old 3/4" plywood we had sitting about for the floor and lid. 

Most of the descriptions of antique casing chests I could find (which totals two) described a heavy cedar chest lined with galvanized steel.  The cedar I could handle but plates of galvanized steel were a tad outside my budget.  So I've substituted it with HVAC tape (basically aluminum foil with a sticky side).  To simplify the structure I ran a bead of hot melt glue down each groove between the boards.  Then I ran some gorilla glue (which expands to fit the space available before hardening) over that and covered the whole kaboodle with the tape.  After an hour or two the walls were basically flat.

I was originally going to lock the whole thing together with some old fashioned dovetails but that turned out to be impractical with the tongue and grove boards so I settled for some simple butt joints.  Once I had the floor installed and the first coat of tung oil applied I glued some strips of latigo to the upper edge of the chest.  Aside from looking nicer than the ends of the boards, it should function as something like a gasket.


After a second coat of tung oil I cut the window in the lid and glued a big sheet of plexiglass under it.  I was concerned early on that a big, dark box with lots of humidity and little air flow would soon gather mold.  There are some "classic" solutions to this problem (periodically scrubbing with vinegar and the like) but I figured if the box wasn't constantly dark then it might not be a problem to start with.  Time will tell if my hypothesis is correct and if it isn't... well I know where to find the vinegar.

I still need to find a pair of hinges that will fit the lid but the box is effectively finished as it is.  When I find the hinges I can just bolt them on.  The chest was sized so that it could fit inside the shelves in the Studio but putting it in there keeps it in shadow and limits how far the lid can be opened.  Fortunately I had enough wallspace left to bolt a small shelf to the wall.  Done & Done.  I'm looking forward to trying it out on my next carving project.


Tuesday, June 21, 2016

Catching up on Orders

In the rush to juggle moving, orders, and D&D I've had a few orders that haven't managed to make it up here yet.  These last two shipped out today & have gotten me through the last of the backlog (for now).  The first is another DM Toolbox, this time with a novel red/blue color scheme (it reminds me a fair bit of Spidey).  The other is a conventional shoulder strap though the client requested a set of anchors to be included.  It sounds like they're going to stitch the anchors to their backpack and use the shoulder strap to convert it into a messenger bag.  Sounds like a pretty neat project!


Monday, June 20, 2016

Move Update V

It's been a very long time coming but the Studio is finally finished and ready for working in.  It's been just about two months now (April to June) since we moved in to the new place and this is really the last room to be set up.  It's spent most of the past couple months being gutted by contractors and turned into some place habitable, much less workable.  I have photos of most of that progress but for the sake of brevity I think I'll give the before and after and then discuss some of the "features" of my new setup.

Before:


The previous tenant had been using the space for "gak" storage.  The walls were finished with aluminum siding, the furniture was... questionable, and the lighting came from an ancient CFL that seemed to take 3-8 hours to warm enough to stop flickering.

After:
The siding has been replaced with proper drywall and painted up nicely.  The single CFL fixture has been replaced with two rail systems sporting 3 LEDs a piece.  Essentially the entire room is one big light box (great for photography).  I installed some vinyl floor tiles so we're not walking on bare concrete all the time.  It's not in this photo but there's also a bright red D20 rug in front of the door now (because it's entirely appropriate).


The shelving makes for some handy storage, mostly for my shipping materials.  I've built a photo booth across the time so that I can have a consistent background for my photos.  The color came out a bit differently than I was expecting but it works pretty well.  It's 8' long so I don't have to worry as much about angles or bundling up straps to get them in one shot.

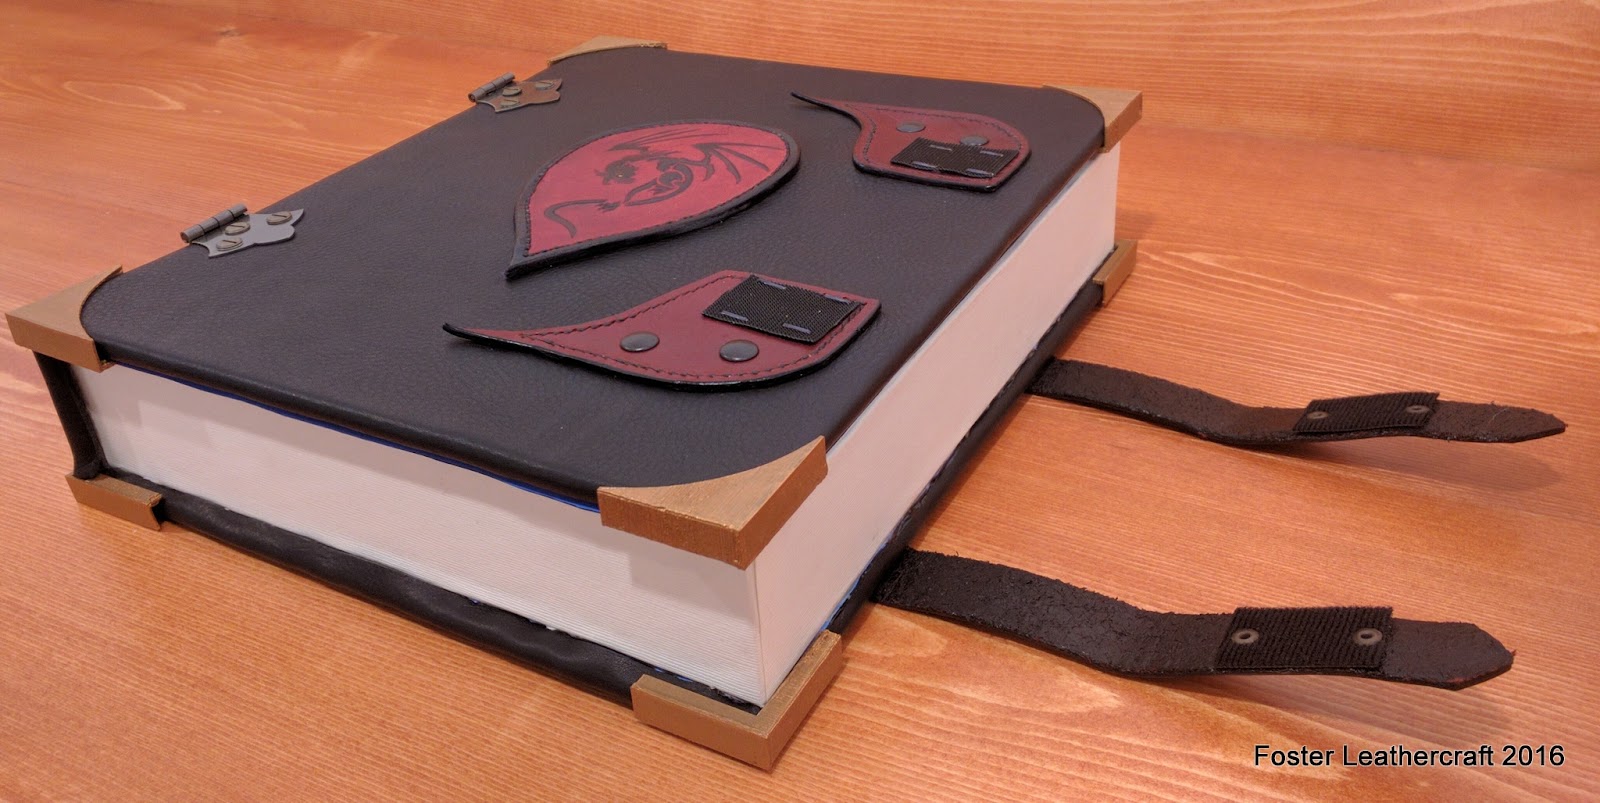
The bench and cabinet across from the shelves is a dedicated space for staining.  I was initially trying to keep it white and clean but it's already got some stains on it and it is basically just a workbench.  It might seem redundant but having separate benches specialized for cutting, carving, and staining is turning out to be incredibly useful.

And here's where the real work happens.  I have my old workbench holding up all the new hardware bins, a pegboard so I can actually reach my various carving tools, and a bench tall enough that I can carve for hours on end without contorting my back.  I haven't gotten to use it too much yet the work I have done has been far, far nicer than it was back in the apartment.


Wednesday, June 1, 2016

Manhattan Map

In the churn of moving I found the process of carving a new map rather therapeutic.  Clearly this something I should do more often.

The client was looking for an anniversary gift and since they had lived in Hoboken when they'd met their partner a map of Manhattan seemed like a good idea.  As maps go it's relatively straightforward but I kept having to start over due to one dumb reason or another.  There was no one thing that was particularly difficult, just a litany of human errors.  I'm pretty happy with the final (and fourth) attempt though and I'll bet the client and their partner will enjoy it on their wall.

Did the carving in the living room while the studio is still under construction.


Because the leather had a significant curl to it I used 1/4" MDF for the backing to make sure it stayed flat.  I normally use 1/8" for the backing but it just wasn't going to be rigid enough to hold the leather flat.