Monday, February 6, 2017

The New & Improved 3D Printer

As previously discussed my "old" M3D printer had a disappointing existence until a couple weeks ago when it gave up the ghost.  It could have been revived with a $50 part (plus ~$30 for shipping) but I'd pretty much had my fill of it.  The most valuable thing I got from that printer was probably the lesson to check fan forums for a thing before buying that expensive thing.  In fairness to me that wasn't an option when I bought the M3D (since it wouldn't start shipping for ~8 months after that).


That wasn't a problem with the new printer.  Monoprice's Select Mini has a fair few reviews spread around the internets.  The fan forums point out a few valid issues (mostly with parts that are easily replaceable) but on the whole the impression is very positive.  It's not a perfect printer, or a top of the line printer.  But it is a "Pretty Good" printer made better by some solid construction and a low price point.  It's pretty rough around the edges, especially when it comes to its documentation, but I would argue that this printer is doing a much better job of achieving M3D's mission of a "household" printer.  It's a good entry level printer but if you're new to 3D printing you should probably expect to spend some time googling to find the common procedures that aren't described in the manual (things like changing filament, printing over USB, etc).

I mostly used the M3D for making tap-offs that I used to create other things.  In the course of their duty tapoffs get smashed between a rock and a heavy maul so they don't always last very long.  The example above is the tapoff used to making the burning tokens for the 5e Condition sets.  The one on the left is the old tapoff from the M3D.  You can see the gaps in the surfaces, the bumps on curves, the general sloppiness.  That was the best I could ever get out of that printer.  On the right you see the exact same model printed on the "Monomini".  This was the first print I pulled off that printer and in addition to being much sharper and smoother, I suspect it'll last a lot longer too.


Tap-offs are all well and good but they won't show us the limits of what a printer can and can't do.  Anyone who's been following my twitter account for a few years might remember that time I tried to print a dragon and got more an ooze.  I think the picture pretty much speaks for itself.


I dug that same file out of Thingiverse so I could try it again on the new printer.  I think this does a pretty good job of showing the printer's limits.  It's a vast improvement over the ooze-dragon but there's still some gaps and issues.  In fairness to the printer, a lot of those were probably because I printed it at about 1/2 the intended scale and those wings were pretty thin to start with.  If I fiddled with the model and built in some better supports then I'm pretty sure I could get a clean, ~100mm tall dragon with nice clean wings.

All in all I'm pretty happy with the new printer and I expect ya'll can expect to see more prints popping up across the store.


Thursday, February 2, 2017

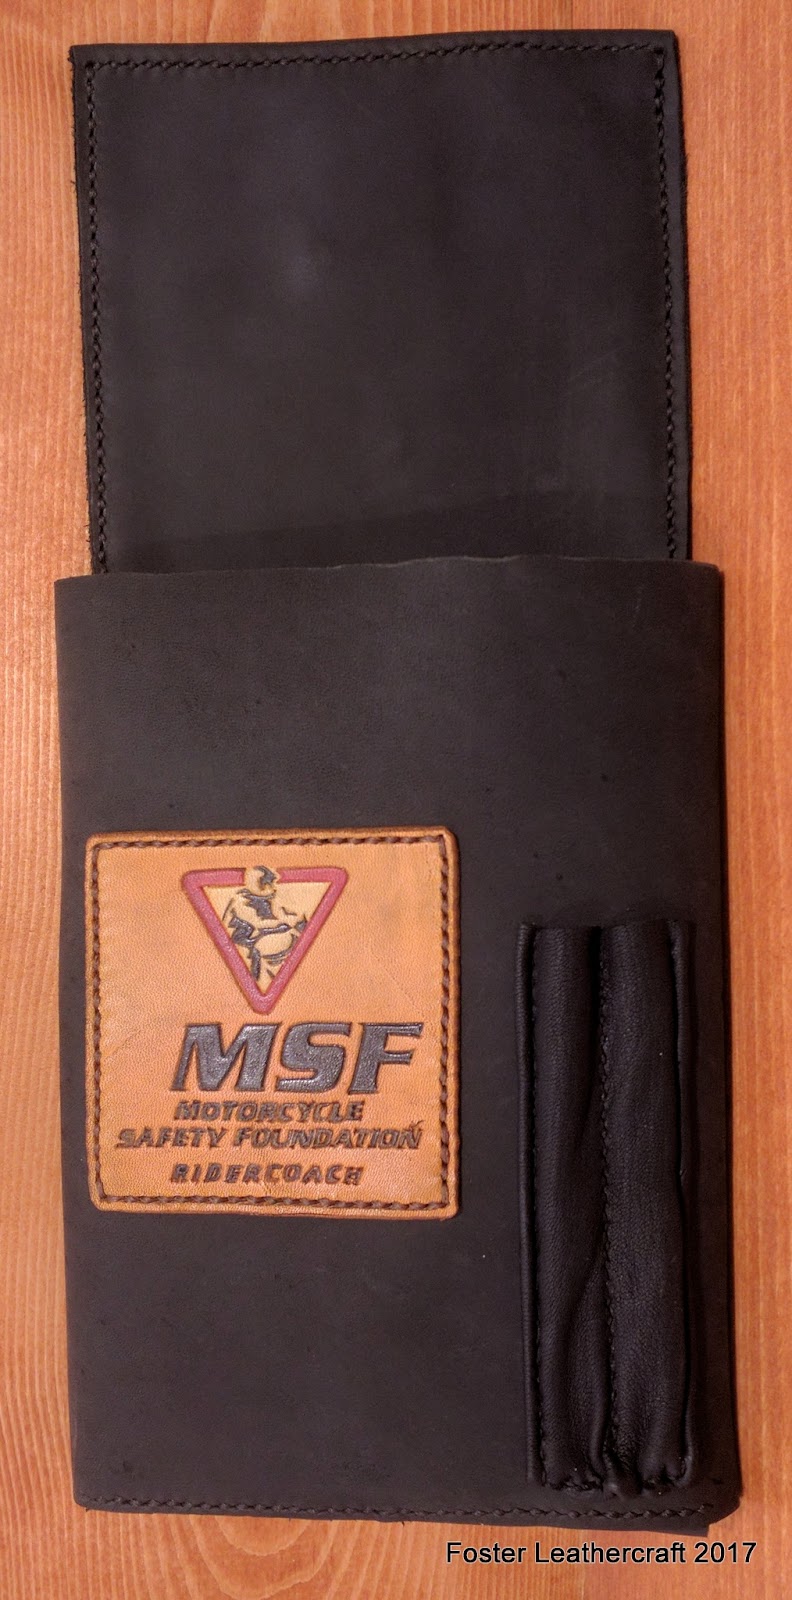
Range Card Holster with Pencil Sleeves

These holsters are fit to carry the Range Cards (basically pads of report cards) for US-based Motorcycle Instructors.  So the market's relatively small that hasn't stopped them from being a semi routine item.  I think my favorite thing about these holsters is every instructor puts their own style on them.  This client wanted the logo and a pair of pencil sleeves.  I hadn't done pencil sleeves in awhile but some careful engineering and some deerskin made for a great result.


Friday, January 27, 2017

Dice Cup, PHB

I've been looking forward this order for awhile.  The client had the brilliant idea of duplicating the art on the cover of the original D&D Player's Handbook (PHB) and art from the classic Tomb of Horrors adventure on the lid.  Then, before they'd seen a real draft, they requested that I run with the notion so they could see what I came up with.  With specs like that I couldn't make anything less than super shiny.

Advanced Dungeons & Dragons 1rst Edition Player's Handbook (published 1977)

Tomb of Horrors Adventure (published 1978)


I have at times referred to getting a good or bad transfer and in this case I got both.  Fortunately I got the good transfer on the design that really needed that fidelity.  A little slop on the statue wasn't nearly as disastrous since it was more about the staining than the carving.  Normally I get a bad transfer if the print or the leather moves even the eensiest bit during the transfer process.  I've gotten a lot better about preventing that so now the most common problem seems to be the leather being too wet.  I'm pretty sure that's what's causing the blurry seeping shown above.
 
The trickiest part was always going to be the shading on the statue.  The tiny adventures were tricky on their own but it's the lighting on the statue that really "makes" the image.  I did my best to match the original by mixing and layering the stains to create that complex shading.  Then I smacked the whole area inside the arch with 2-3 layers of finish to resist the overcoat.  The last thing I wanted was some "accidental shading" from the gel stain.

The dice on the side were meant to come out a bit brighter a couple of the did (particularly the d6 and d8).  I stained them just a couple days before I received a new shipment of stains with a couple of colors I could've really used there.  Alas.

My coup de grace was using a couple gem rivets in place of the statue's eyes.  This required a slight alteration of the adventure's (since they were both overlapping the gem-eye) but I really like the effect.  Totally worth it.


Tuesday, January 24, 2017

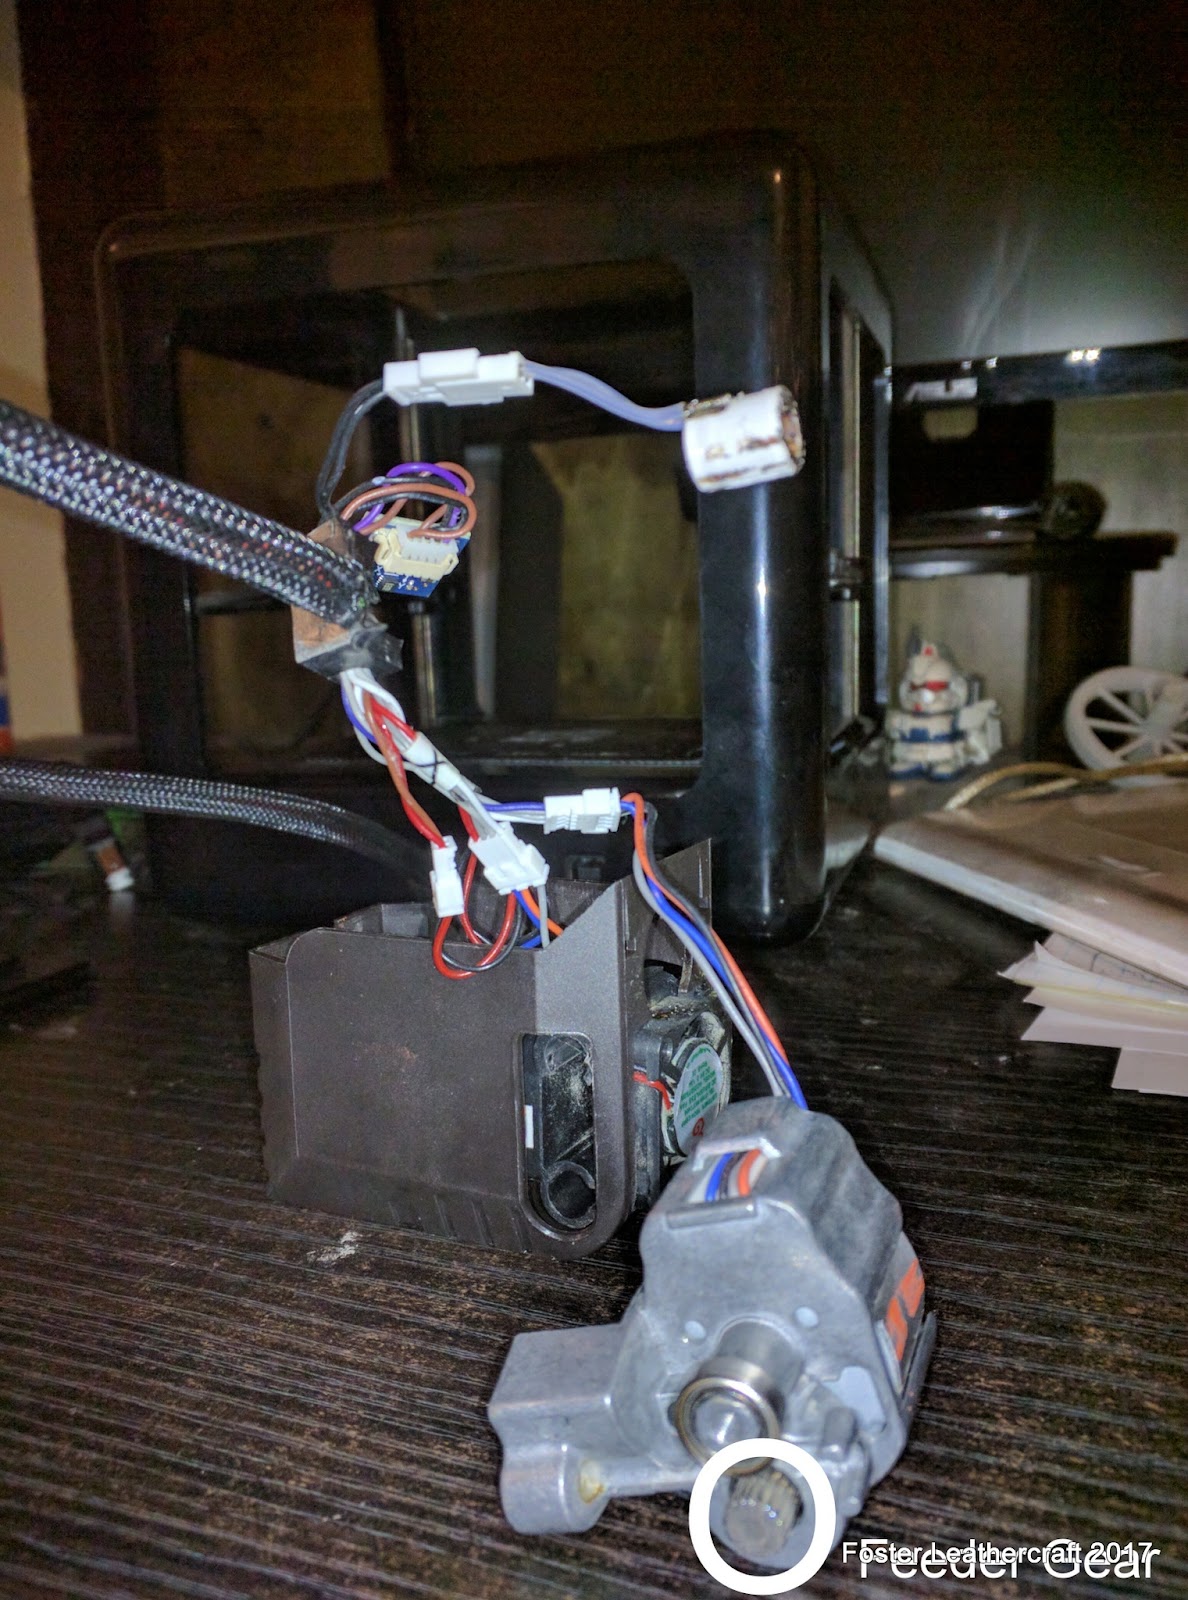
RIP M3D Printer

The same month I opened the shop back in '14 I'd ordered a 3D printer from M3D.  At the time they were being billed as an entry level printer that was simple and reliable enough for anyone to use for everyday anythings.  In the year I spent waiting to receive the printer other initial adopters were receiving theirs and... well I suppose we could say the receptions were mixed.  After shelling out the duties my total bill for this printer came pretty close to $500 when I finally received it in July 2015.  And after all of that waiting and time my first attempts at printing were pretty disappointing to say the least.

It took several months of tinkering, researching, and working out the kinks in the hardware and the software to finally start getting functional (not yet good, just functional) prints 7 out of 10 times.  I learned that the spool had to be suspended over the printer to reduce any tension on the filament as much as possible.  I also learned that if I wanted to scale my prints I needed to go through a complicated process of piping it through a separate piece of software before sending it to M3D's proprietary software.  Funny story too since they sold the printer as being able to work with any open source software (it can't). 

This list could go on for at least a few more points but the summary is this: If M3D's goal was to create an inexpensive printer that didn't require much maintenance and any layperson could use right away then they failed catastrophically.  This wasn't helped by the impression that the closest thing they have to a support department are the forums where their customers are trying to figure out their own fixes.  If you check the official M3D FAQ it's full of links to those forums.

In fairness I did get a couple prints I would call "good" after the 1.5.1 version of the software was released last fall.  And even the vast majority of prints weren't quite "good" they were good enough for most of what I needed to do.  I was able to dress up the corners of the DM Toolbox with custom fit caps thanks to the printer.  And I've printed lots of tap-offs, which was the original reason I invested in it, so it's been a success in that way.

All of which brings me to now.  As the title implies the M3D has effectively kicked the bucket.  The feeder gear that pushes filament into the extruder has gotten wobbly and can't push the filament any longer.  I could replace the entire assembly.  This component is troublesome enough that M3D does sell it separately through their internal store.  And the printer has worked just barely well enough that I functionally require a 3D printer now.  But if the choice is between investing another hundred or so into this printer or five times that to entirely replace it with a different brand, it's a pretty easy choice for me to make.
I don't yet know what I'll be replacing it with but it's definitely going to be a printer that's been out for a while.  The Printr bots are a good contender but I'll be doing a full review of my options over the week before ordering something by Friday.

Tuesday, January 17, 2017

Brown Snap Pouch

Making these pouches is routine enough that I don't usually write a blurb for them anymore.  However this one was the first product made with a new brand of oiled leather.  It's a couple ounces heavier than the old brand and has a nice pebble texture and good hand.  I think it's going to work pretty darn well.


Friday, January 13, 2017

Dice Cups, Phish & Celtic Knot

The client contacted me originally about making a Phish-themed dice cup to custom dimensions and in the course of our conversation their spouse decided they wanted a celtic knot-y dice cup of their very own.  Worked out pretty great for me!


I've been pretty busy setting up some new web-based services that'll help me keep all my numbers in a row.  That's meant of lot of time doing basically paperwork this week but it should mean I'll need to spend a lot less time doing the same thing in all the coming years.  It's already proven useful so far this year, at least more useful than a kobbled spreadsheet.  Good stuff!

Friday, January 6, 2017

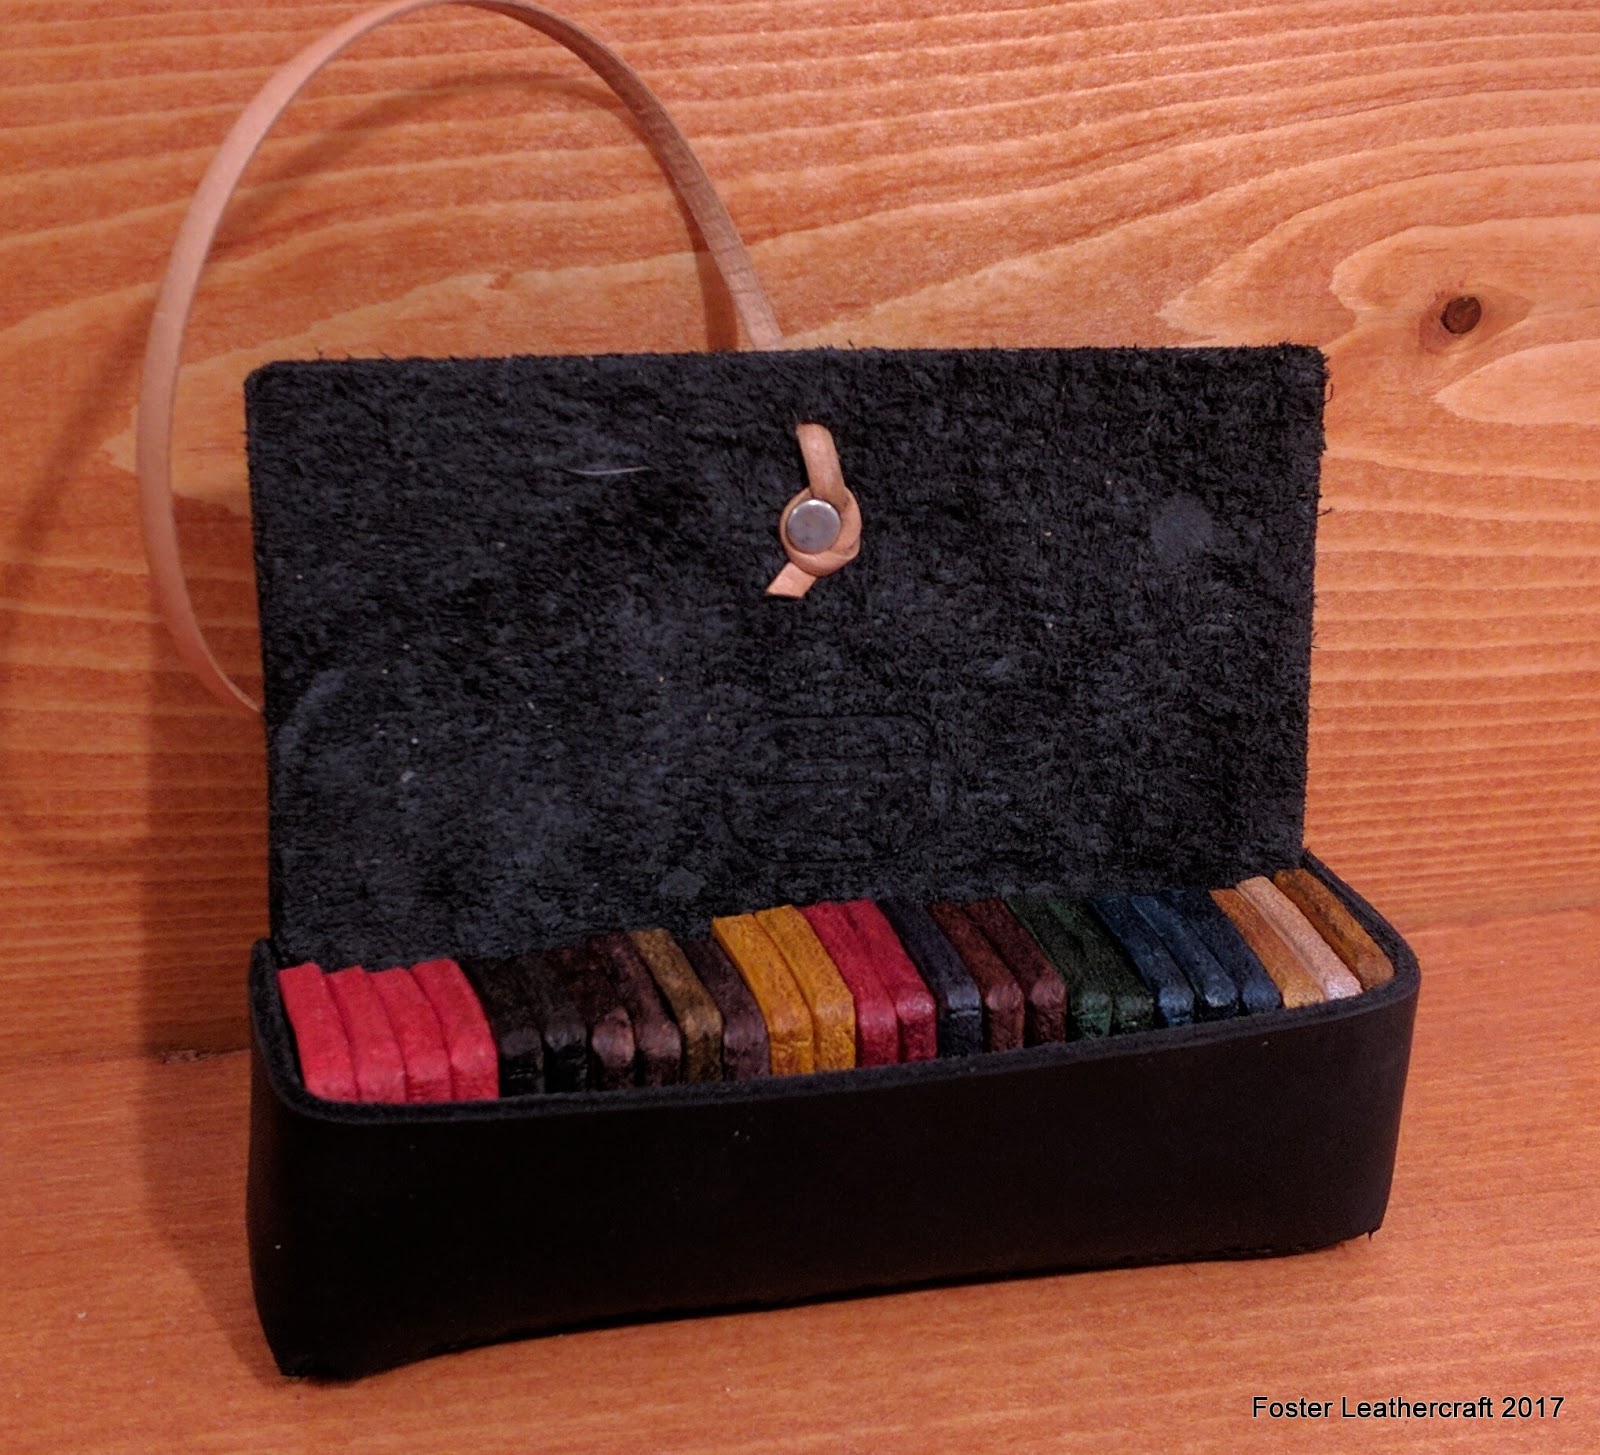
Condition Tokens Mark... 14?

I made quite a few of these over the holiday season and iterating so quickly helped me make some improvements along the way.  I drew up a better logo for the hidden/invisible tokens for one and worked out a staining procedure so that I wouldn't have to paint borders on some squares.  Thanks to a clearance I was able to pick up a lot of nice "jewel-ish" rivets that set the lace quite nicely.  A good way to start off the year! =)