
Handcrafting reliable, custom leather goods & gaming accessories.
Sunday, July 6, 2014
Other topics
It seems to me a blog should have more than photos of finished products if it is to be interesting and I do have some notions for other topics I could/should write about. Specifically, I'd like to write a blurb or two on some of the historical aspects of crafting, specifically leatherworking. It's interesting to me so I suppose it seems rational that it should be interesting to others. I have a pretty busy week coming up but if the opportunity presents itself I'll try to have such a blurb up by the end of the week.

Saturday, July 5, 2014
Building A Better Bangle
I hadn't made bangles before but when I found an old sheet of copper
left over from a long ago build, bangles seemed like the obvious thing
to use it for. For the inner layer, which would probably be in contact
with human skin all the live long day, I figured deerskin would work
best. It's hard to match for comfort and friendliness with skin. For
the first bangle I made an outer layer of veg tan and the second a layer
of stoned oil. I'm happy to say that both worked out pretty darn well
and the copper strips are so ductile that the bangles are very easy to
adjust.


Monday, June 30, 2014
Cool & Collected Coasters
Coasters seem like the classic introductory item to leatherworking,
though these are almost the first coasters I'd ever made. There doesn't
seem to be any shortage of leather coasters available on Etsy these
days, but it seemed all the ones that were part of a set were from the
Tandy kit. While the Tandy kit is probably perfectly dandy, it seemed
more interesting to me to develop my own case for my coasters and that's
what I did. A bit of brainstorming, a dash of drafting on the
computer, and a few paper prototypes to get the sizing right and
bing-o! Perfectly fitted cases using a minimal amount of material.
While I was changing up the norm I figured I'd experiment with some different tooling patterns. Rather than having five identical coasters I figured it'd be interesting for each coaster to have a different pattern. If nothing else it seems like it'd help keep track of who's cup was who's.
Each of the coasters and cases were treated with an antiquing gel. One set received the Dark Brown treatment and the other set received the Mahogany color. The treatment method was pretty much identical from coaster to coaster and the cases but I couldn't help but notice the Mahogany treated cases turned out far more "purple" than the coasters. It just goes to show that every hide of leather is just a bit different.
Of course, the dragons all had to be painted to be properly given their dragonly due. After that came a few thick coats of finish to make each coaster as shiny, and water resistant, as possible.
The final coup de grace was a double loop lace around the border of each coaster. Aside from just looking nicer this helps the coaster hold onto the surface its sitting on. I'd imagine it might help hold on to wayward liquids as well, but I haven't really tested that. The first two sets used a nice supple calf lace that I tend to use for most of my lacing but the dragons seemed like they could use a beefier latigo lace. It works pretty well for them I think but I had to go to a single loop to make the thicker lacing work. I'd originally alloted myself 3 days to complete the entire build but that was before I remembered how time intensive lacing can be. It took me 6 days to finish tooling, staining, painting, and lacing all 15 coasters. I'm pretty content that the time was well spent though.


While I was changing up the norm I figured I'd experiment with some different tooling patterns. Rather than having five identical coasters I figured it'd be interesting for each coaster to have a different pattern. If nothing else it seems like it'd help keep track of who's cup was who's.
Each of the coasters and cases were treated with an antiquing gel. One set received the Dark Brown treatment and the other set received the Mahogany color. The treatment method was pretty much identical from coaster to coaster and the cases but I couldn't help but notice the Mahogany treated cases turned out far more "purple" than the coasters. It just goes to show that every hide of leather is just a bit different.
Of course, the dragons all had to be painted to be properly given their dragonly due. After that came a few thick coats of finish to make each coaster as shiny, and water resistant, as possible.
The final coup de grace was a double loop lace around the border of each coaster. Aside from just looking nicer this helps the coaster hold onto the surface its sitting on. I'd imagine it might help hold on to wayward liquids as well, but I haven't really tested that. The first two sets used a nice supple calf lace that I tend to use for most of my lacing but the dragons seemed like they could use a beefier latigo lace. It works pretty well for them I think but I had to go to a single loop to make the thicker lacing work. I'd originally alloted myself 3 days to complete the entire build but that was before I remembered how time intensive lacing can be. It took me 6 days to finish tooling, staining, painting, and lacing all 15 coasters. I'm pretty content that the time was well spent though.


Theraputic Pyrography
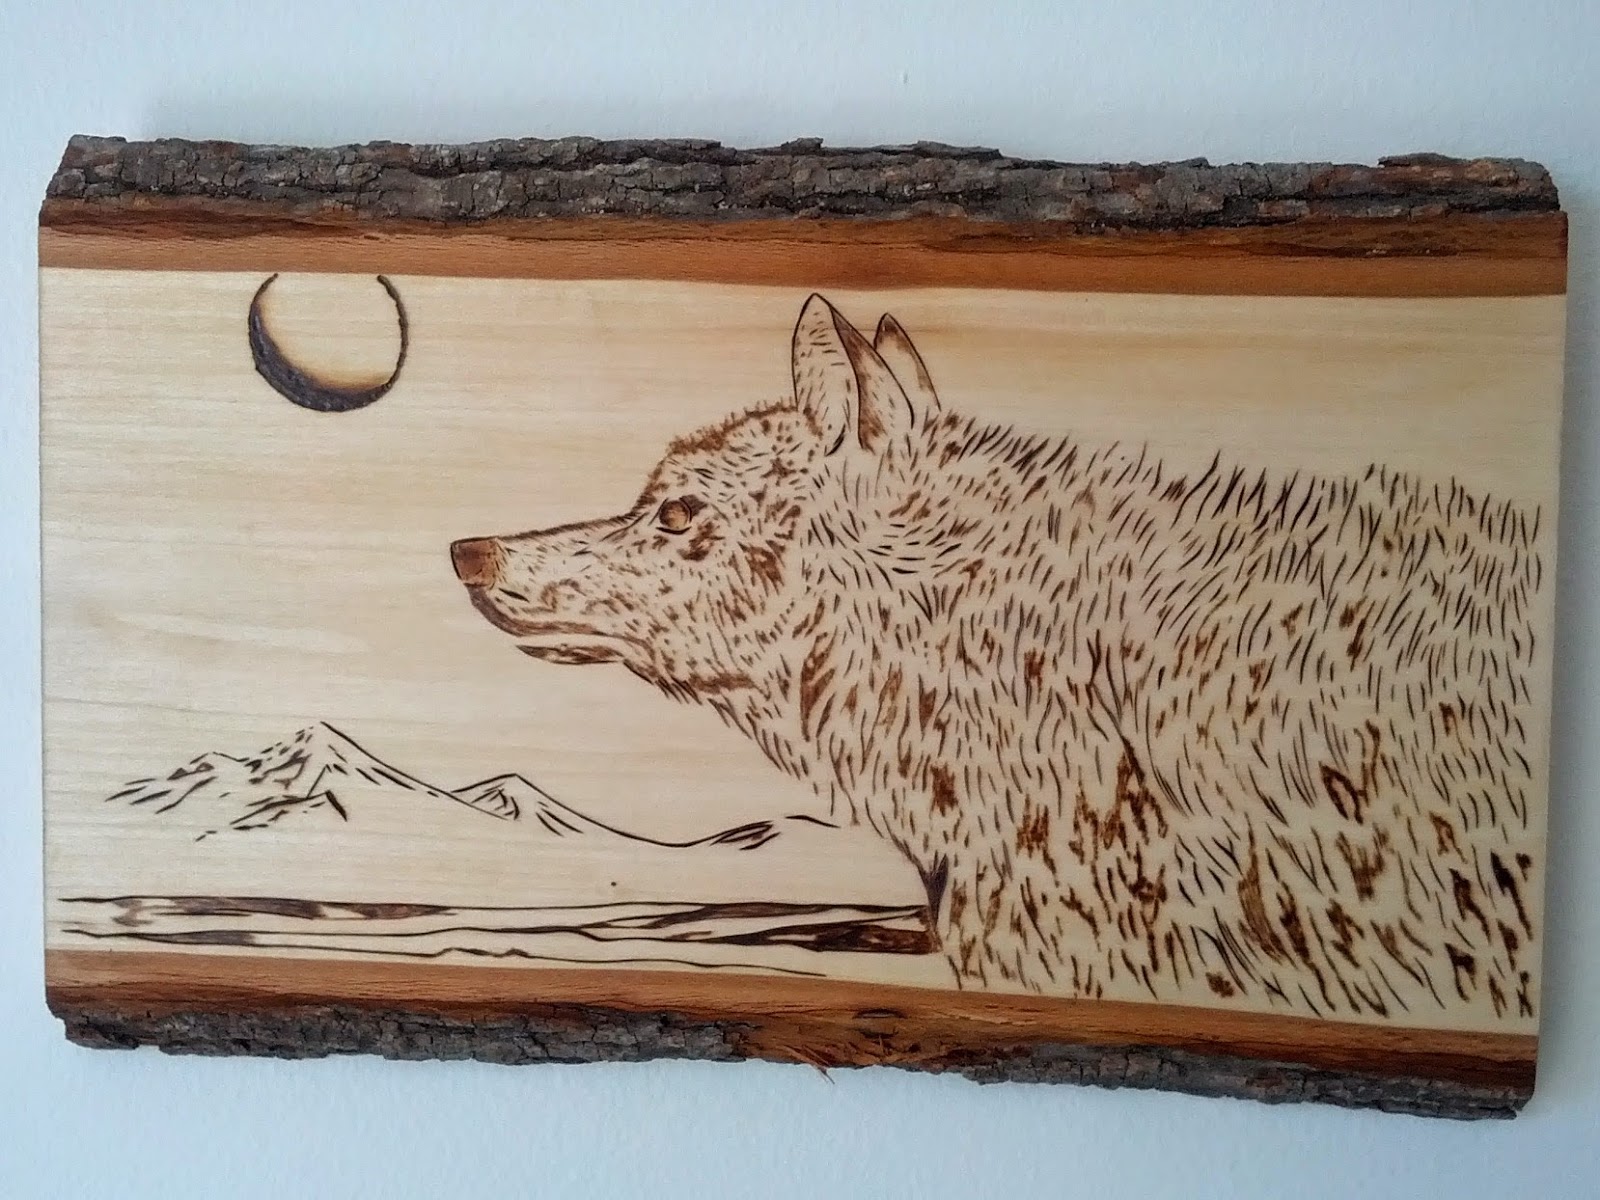
I can't speak for anyone else but personally I find woodburning to be pretty relaxing. Spending 3-8 hours hunched over a piece of linden, focusing on precisely creating details in the wood grain with a hot stick. Add a good audio book or some interesting podcasts and it's a pretty dandy way to spend the day. Starting a business, even a small one, involves a certain amount of stress so it was pretty nice to be able to sit down and focus on these for a few days.


These two rounds were burned with patterns I'd purchased long ago from Walnut Hollow.


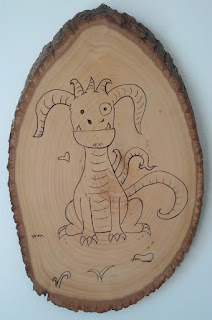
My wife and I saw How to Train Your Dragon 2 last weekend and while I came out of the theater with a desire to recreate Hiccup's helmet it was my wife who got back home and started doodling dragons. She doodled a fair few but one in particular caught my eye and I couldn't not use him for some pyrography. He's just so adorably derpy!

As usual each of the pieces has a strap of latigo lace nailed to the bag so they can be easily hung on the wall and they're all treated with tung oil to bring out the wood grain and preserve them for the ages.


These two rounds were burned with patterns I'd purchased long ago from Walnut Hollow.



My wife and I saw How to Train Your Dragon 2 last weekend and while I came out of the theater with a desire to recreate Hiccup's helmet it was my wife who got back home and started doodling dragons. She doodled a fair few but one in particular caught my eye and I couldn't not use him for some pyrography. He's just so adorably derpy!


As usual each of the pieces has a strap of latigo lace nailed to the bag so they can be easily hung on the wall and they're all treated with tung oil to bring out the wood grain and preserve them for the ages.
The Time Has Arrived
I've been working towards launching this business for the past couple years but in some ways it feels like I've been anticipating it for much longer than that. As of this afternoon that wait officially ended. Foster Leathercraft is now live and open for business!
Monday, June 23, 2014
Coming Soon
The previously mentioned project caught me just as I was beginning to pull things together to open up the store. Now I'm reaching towards the end of that process and as soon as next week Foster Leathercraft could be officially open for business. I won't bore you with the details but I chose to wait until after everything was in place and I had a worthy run of products to offer. After all, my name's right there on the shop. I've been pretty busy for the past month making sure all of that's taken care of though, and Opening Day is just around the corner.
Friday, June 13, 2014
Black Belt w/ Celtic Tooling & Silver Buckle
I'm still building up the Foster Leathercraft business so I took it
as a very good sign when I got a commission well before the Etsy store
was even opening. The client was having a difficult time finding a belt
that fit and a mutual friend suggested she get in touch with me. She
was looking for a black leather belt with a simple celtic design and a
silver buckle.
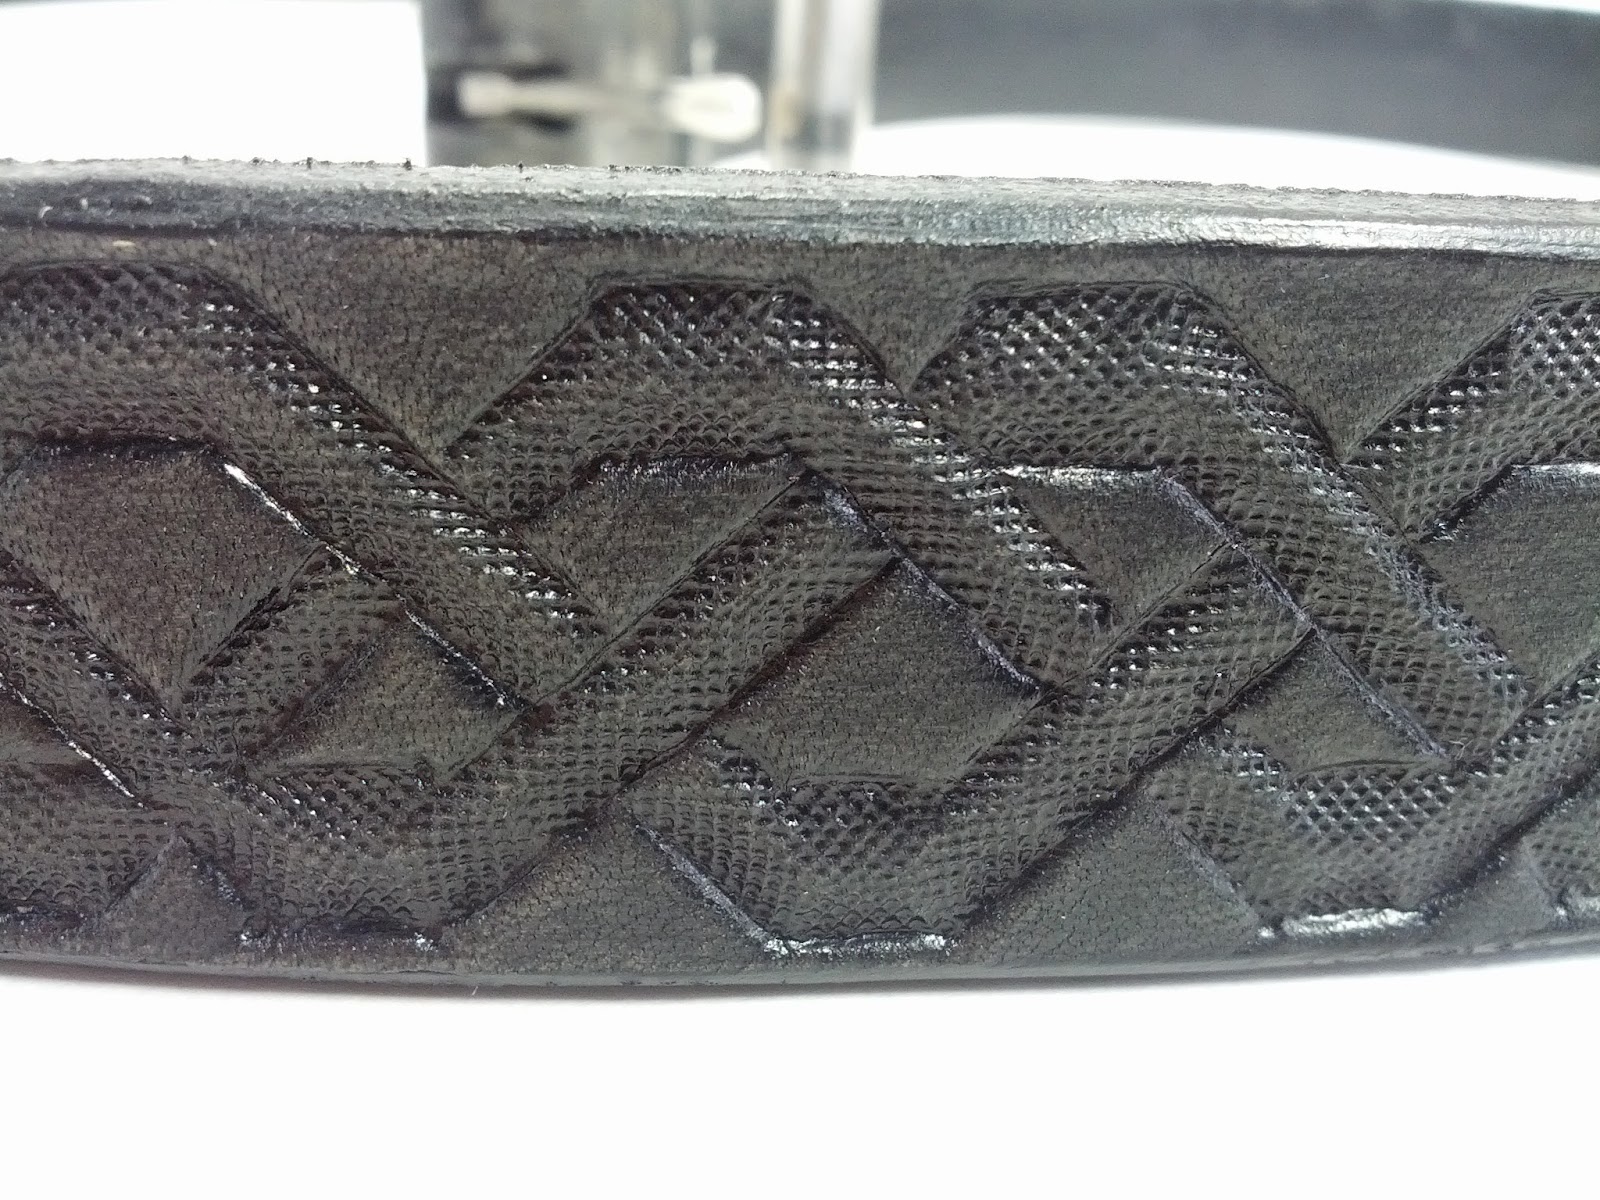
I plotted a celtic knot design to fit along the 1.25" wide strip that made up the belt and tooled it with an inverse bevel. Because dark stains tend to make depth difficult to see I treated it with a few applications of stain to balance getting a true black with being able to see the depth of the tooling. It still makes for a bit of a challenge to photograph but it came out pretty well in the proverbial meat space. And, of course, if the client's happy then I'm happy. =)


I plotted a celtic knot design to fit along the 1.25" wide strip that made up the belt and tooled it with an inverse bevel. Because dark stains tend to make depth difficult to see I treated it with a few applications of stain to balance getting a true black with being able to see the depth of the tooling. It still makes for a bit of a challenge to photograph but it came out pretty well in the proverbial meat space. And, of course, if the client's happy then I'm happy. =)


Subscribe to:
Posts (Atom)