Monday, November 3, 2014

Talk Nerdy Key Fobs

Over the past month I wrote about the step-by-step process for making the bookmarks for Talk Nerdy but I barely got to mention the Talk Nerdy key fobs.  Now that the entire order is complete I figured it was only right to go back and show how the key fobs were made.  Some steps, like the casing and signing, are pretty much the same for every project, but there are countless ways to carve and stain leather.

For instance, for the bookmarks I'd cut the design into the leather and then used a series of bevelers to crush the grain of the leather inside the letters.  I considered doing something similar for the key fobs but since the design was more complicated, needed to be duplicated 50 times, and time was limited I decided to sculpt the edges instead.  This involves using a variety of styluses (stylii?) to move the leather around instead of stamping it with a beveler or some other tool.  When it's properly cased leather can be a lot like clay, except that once you push it into place it'll stay there.  There aren't many re-dos with leather.  Sculpting gives the carver a lot of control over the angle and grade of the design and it works really well with a gel stain to bring a design out of the leather.


When it came time to stain the fobs I had been planning on using a resist on the microphone, applying a black base coat, and then painting the orbits around the microphone.  That's pretty much the same technique I used on the buckle I'd made for Cara Santa Maria.

Resisting is a technique where a coat (usually two) of finish or some other resisting agent is applied to an area of leather before the stain.  The finish seals the pores of the leather and doesn't allow the stain to penetrate very well.  When the stain is applied that area of the leather won't be nearly as saturated with it as the rest of the leather.  When I tried this on an early fob though I found that the resist wasn't working very well with this leather.  Every piece of leather is a bit different and not every technique works with every hide. 


So a new approach was hatched.  Rather than painting the fobs up to the point where they didn't seem like leather anymore, I'd use a gel stain in combination with a resist on the microphone and a tint on the orbits.  Tinting is pretty much the opposite of resisting.  Instead of using a finish, the area is pre-stained with a dark stain.  When the final stain is applied over it the colors overlap and you get a nice two-tone effect (or three tone in combination with the resist).


Over the course of a couple days I tinted the orbits and and applied the resist to the microphones.  It's best to let the resist cure overnight so after that I treated them all with the final stain.  For a job like this I use a mixture of antique gel and a particular finish.  The benefit of this is I have a lot more control over the final result, it really shows off the characteristic of the leather, and I shave a day off the build time by not having to wait overnight to apply a separate coat of finish.


The last step with this sort of stain is to buff the stain after a few hours.  This removes any excess stain that may be lingering and smooths out the rest to make it all nice and shiny and slick.  I understand many carvers use scraps of sheep's wool for this but I've found that a bit troublesome.  I use a lint-free cloth that I can wash and re-use for each project without worrying about contaminating the leather with old stain.

In this case I gave each key fob a good buffing before and while I attached the key rings.  This was done with a rivet which is as simple as it is effective.  There's different types of rivets but this sort is a simple post and cap.  You set the post in the hole you want riveted, set the cap over it, and use a tool inventively called a "setter" and a mallet to whack the two together.  Post and caps are far from the strongest rivets but they still take a pretty severe amount of force to pry apart after they've been set.  That makes them pretty perfect for everyday items like these.


After all that's done we had 50 ready-to-go key fobs that were soon on their way to Ms. Santa Maria.  They all show Talk Nerdy's excellent logo but since they're completely hand-made no two are exactly alike.  They'll be joining the bookmarks in Talk Nerdy's store so I hope you'll consider picking one up.  If you do you'll be supporting not one but two independent, small businesses. =)


Sunday, October 26, 2014

Step-by-Step: Staining & Finishing

There's so many ways to stain and color leather these days that it's practically absurd.  This step is probably the only stage that's appreciably different from the ye olde days of classical yore.  Back then about all they could/would do was boil and/or bake the leather and work some oils into it.  Now-a-days I have 4 different categories of pigment, all with different properties, spread across 3 brands and encompassing an array of colors (particularly browns).  I have those oils too (though probably better ones than they had in 12th century Ireland) but there's not much call for them these days.  A full summary of these modern options would require a treatise more expansive than I could fit in a blog post.

So to skip the theory and get right to the practice, I figured I would use a Watercolor stain to form the base for the bookmarks, then go over the letters in acrylic, and seal it all in with some Super Sheen.  I don't use the watercolor stain terribly often because it's A) expensive and B) stupendously messy.  I have strategies and cleaners that work for every other stain in my arsenal, but leave any watercolor on any surface (even my silicon gluing mat) for more than half a minute and it'll never come out.  On the upside, it's great at giving an even, smooth base coat that other elements can build on and it's infinitely mixable.  Like most stains it's applied with a sponge and it's always a good idea to have ample water on hand.  I usually use a silicone mat to keep my workbench as unstained as possible, but I've learned that watercolors will stain even that so I use sheets of parchment paper instead.  It's important to work the stain into the leather with a little elbow grease so it can take awhile to go through 51 bookmarks.


Once the watercolor has cured overnight the painting can begin.  Acrylic's a pretty straightforward medium and the trickiest part is mixing it to get the right balance between smoothness and opacity.  Too thin and it goes on very smooth but just tints the leather.  Too thick and it cures opaque but tends to clump.  It generally takes 2-3 coats to get a good application and between my wife and I it took the whole weekend to get through the whole lot.  Somehow I didn't get any pictures of us hunching with brushes in hand but the result came out pretty well.


The last step is certainly aptly named: finishing.  Even after it's been tooled and stained, leather remains pretty susceptible to water, sweat, etc.  So to keep it from degrading over time a finish is generally applied to seal the pores and fibers.  Different finishes have different properties but in this case I'm using one called Super Sheen.  As the name implies when it dries it leaves the leather a bit shiny.  There's a few different ways it can be applied but I used a sponge to have more control and wound up giving the front 2 coats and the back 1 coat.  It takes a few hours to fully cure between coats but the result is pretty nice.


As of this writing I'm still working on the second half of this order, 50 key fobs you may have noticed in the transferring post, but these bookmarks are on their way to their destination.  Starting in November they can be purchased through the Talk Nerdy store.  The key fobs are soon to follow as soon as they're complete.  Thanks for talking the time to read through these posts and even if you don't have much need for a bookmark or key fob you should give Talk Nerdy a listen sometime.


Friday, October 24, 2014

Step-by-Step: Decasing & Signing

Once all the carving itself is done it's time to let the leather decase.  The simplest way to do this is to just set it on the workbench and wait for it to dry out.  However doing so risks leaving the leather to the whims of random fiber arrangements.  Leather, like wood or paper, is made up of lots of little fibers and while most of them run in one direction (the grain) they don't -all- run in that direction.  As the leather dries the fibers contract and those "cross fibers" can wind up causing the leather to twist or warp.


To prevent this I generally put the leather into some sort of traction overnight.  In most cases that entails piling old D&D books (and sometimes a few weights) on top of it and leaving it to sit overnight.  It isn't always fool proof, I still get some warping from time to time, but it's a big improvement over having no traction at all.  With enough pressure it even tends to burnish the rough flesh side of the leather.

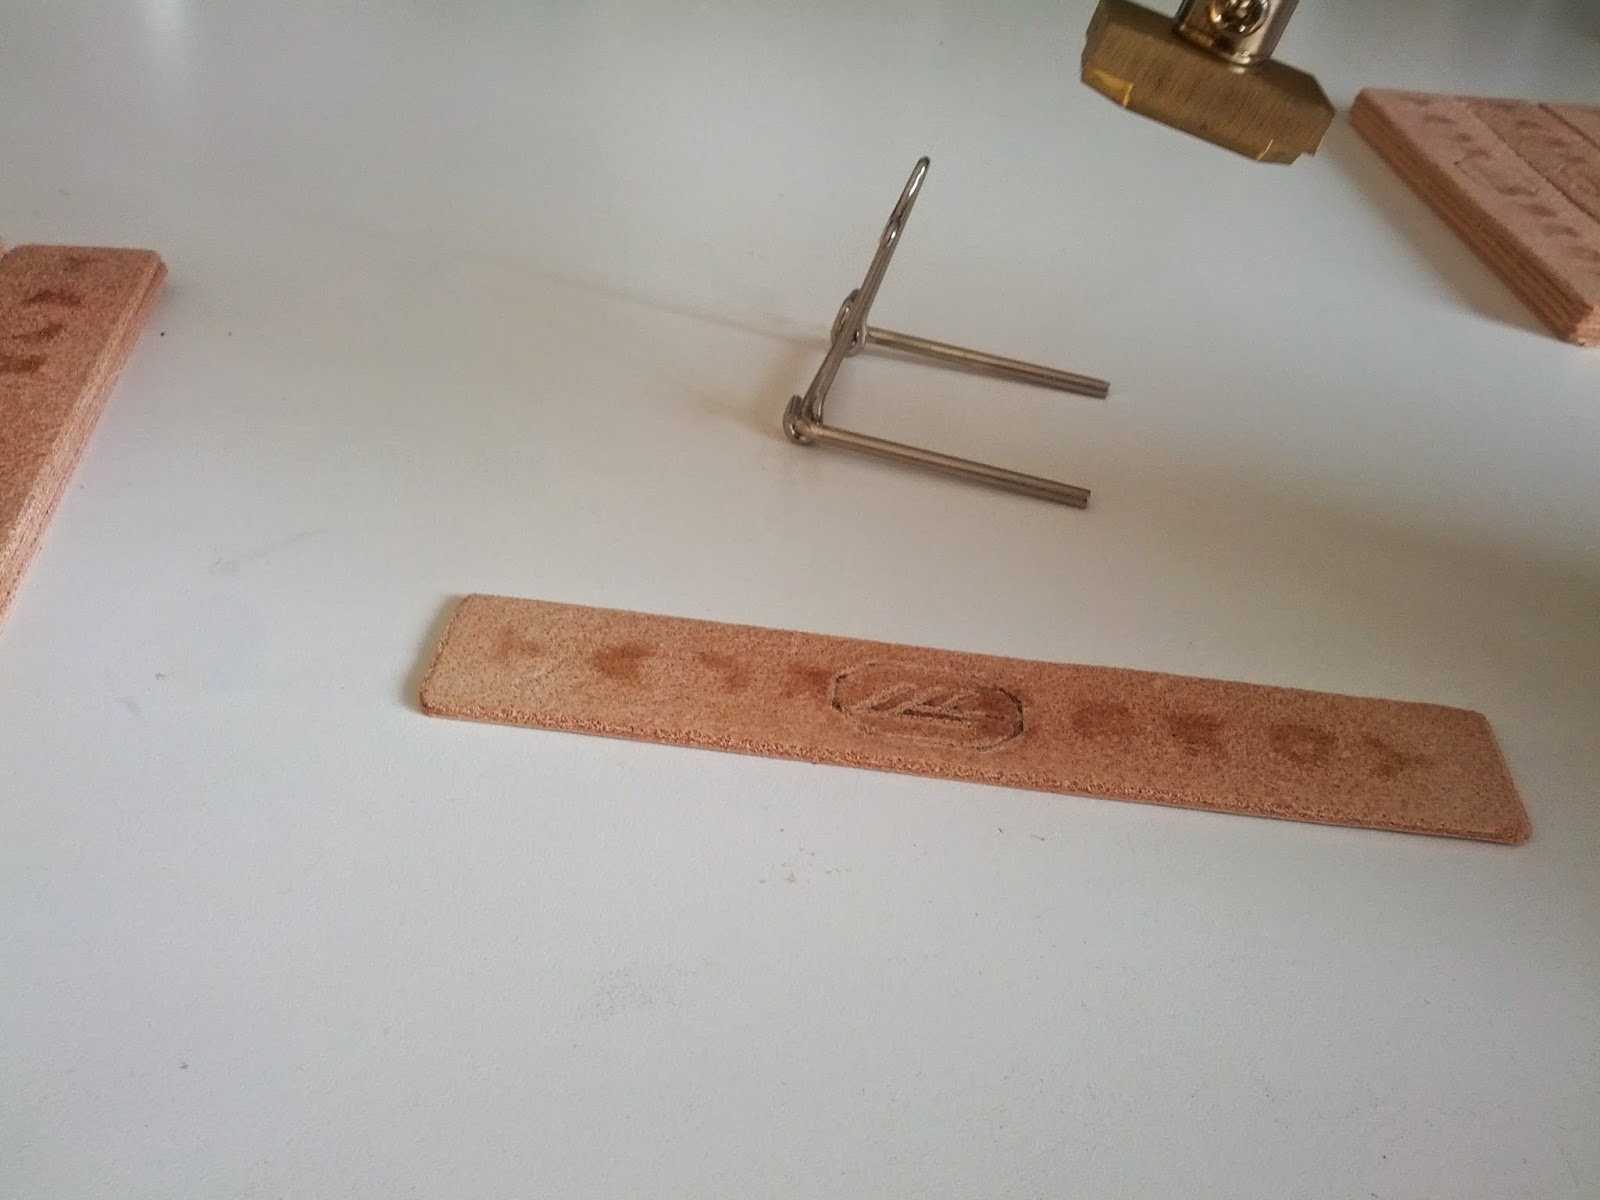
Assuming veg-tan is involved I usually sign the piece as soon as it's done decasing.  Like craftsmen of ye olde I've come up with a makers mark that I use to, fairly literally, brand my work with.  This is done using a brass die with my mark and an old soldering iron.  In it's most basic sense it's a simple as just pressing the brand onto the leather but it takes some practice to get the hang of.  The density, thickness, and any remaining water can all affect how the leather takes the imprint.  In the worst case scenario the fibers of the leather can be scorched by the heat, but that only happens if the leather's still pretty wet or the iron is heated over 300C.  Otherwise it's just a matter of practicing the stamping, rocking motion necessary to get a clear, clean imprint.


Wednesday, October 22, 2014

Step-by-Step: Beveling


Anything more involved than line art usually involves some degree of beveling.  Beveling uses an angled stamp to raise an element of the tooling above whatever's around it.  Changing the depth and angle of the bevel can alter the prominence of that element as well and with all sorts of different stamps giving different effects beveling can be pretty darn versatile.  It can be pretty tedious if you have a large area to bevel but when done well it makes a pretty profound and subtle effect.

In this case I was using two of my higher quality bevels.  They aren't as robust as some of my other bevels but they make clear and smooth impressions and aren't as prone towards "chop".  For each bookmark I'd use the longer bevel along any flat edges to make sure they were nice and straight.  Then I'd go back over the interior of the letters with the smaller beveler pressing down by hand to flatten out the interior of the letter and bevel the curves. 


Monday, October 20, 2014

Step-by-Step: Cutting

Now it's finally time to get down to the proper leather carving itself.  Everything that's been done so far has just been to ensure the next couple of steps come out as well as they possibly can.  The leather carving, aka tooling, itself involves various stages and steps depending on the desired outcome.  There's roughly 8 or 9 categories of stamps used to accomplish differing effects for general tooling and an unending array of specialized stamps for specific styles like sheridan carving.  No matter which stamps you're using though, tooling first starts by cutting the design into the leather.

To do this we use a tool called a swivel knife.  As the name implies, the knife is made so that it can twist or swivel as it's cutting through the leather.  By taking advantage of this the leatherworker can cut clean curves into the leather and isn't restricted to straight angles.  Cutting the grain of the leather (the smooth, strong top side) makes a clean border in the surface of the leather that the rest of the carving is built on.


The swivel knife needs to be kept razor sharp in order to cleanly cut the leather so every few minutes it gets passed over a strop of some sort.  Sometimes it's a peice of scrap leather but I find a bit of scrap brown paper seems to work better.  Whatever I use, it's liberally treated with jeweller's rouge which is a sharpening agent.  Any of the microscopic imperfections that are dulling the edge get whisked away by the rouge.


Due to subtleties in the leather and the fact that all this is done by hand it's virtually impossible to cut any design exactly the same way twice.  Accordingly every piece comes out just a little different from the others guaranteeing a unique product in the end.

Sunday, October 19, 2014

Step-by-Step: Transfer (Stylus)

I mentioned yesterday that there's another technique I tend to use pretty often to transfer a design onto a piece of cased leather.  Tap-offs work great for large or simpler designs but they don't really work at all for designs of any complexity.  For that, I have to apply a somewhat more modern technique (in so much that paper is more modern than leather) and trace the design onto the leather from a print-out using a stylus or scratch awl.

This is about as tedious as it sounds but what I dislike most about it are the replication errors that tend to pop up.  This is really only relevant for symmetrical designs but using this method means going over the design at least two or three times by hand.  It's kinda like playing the old school yard game of telephone in that way; all the details tend to get a bit fuzzy.  For most designs I can work around that by incorporating any transfer errors into the design on the leather, goodness knows I've had enough practice, so there's no harm done in the final product.

In this case though, I'm attempting to transfer the Talk Nerdy logo onto a 2.125" wide key fob.  This logo worked really well on a ~3" wide buckle, but at just over half that size it's taken on entirely new challenges.  A lot of care has to be taken to make sure none of the lines overlap or cross each other where they're not supposed to.  The design has a fair amount of symmetry and precision that's going to make it a fair challenge to reproduce at this scale 50 times.  Well, as the kids say these days: challenge accepted!


Saturday, October 18, 2014

Step-by-Step: Transfer (Tap-Off)

Our leather is formed and cased so now we're ready to start making marks on it.  The transfer process is how we apply our design to the leather just prior to tooling.  There's a few ways of going about it but for these items I'm using a tap-off.  The common alternatives are tracing a print-out (which I'll probably show in a few weeks) or drawing directly on the leather with a stylus.

Tap-offs are best used when you need to rapidly reproduce exact but simple designs.  They're particularly handy for designs with repeating elements but if the design is too complex they tend not to work very well.  A tap-off is made using a piece of heavy leather (often from some scrap) and cutting the mirror image of the design you want to tool into it.  I like to bevel the grain-side edges and sculpt the tooling as well but this is mostly to keep the impression as clean as it can be.

In the image above the piece on the left is the tap-off and the other three bits are awaiting their imprints.  Applying the design as as direct and simple as you might expect.  The tap-off is placed face down on the leather and then whacked with a mallet but good.  Once you've found the trick of it you can transfer the design directly the leather with just a minute or two (and while only minorly annoying the neighbors).